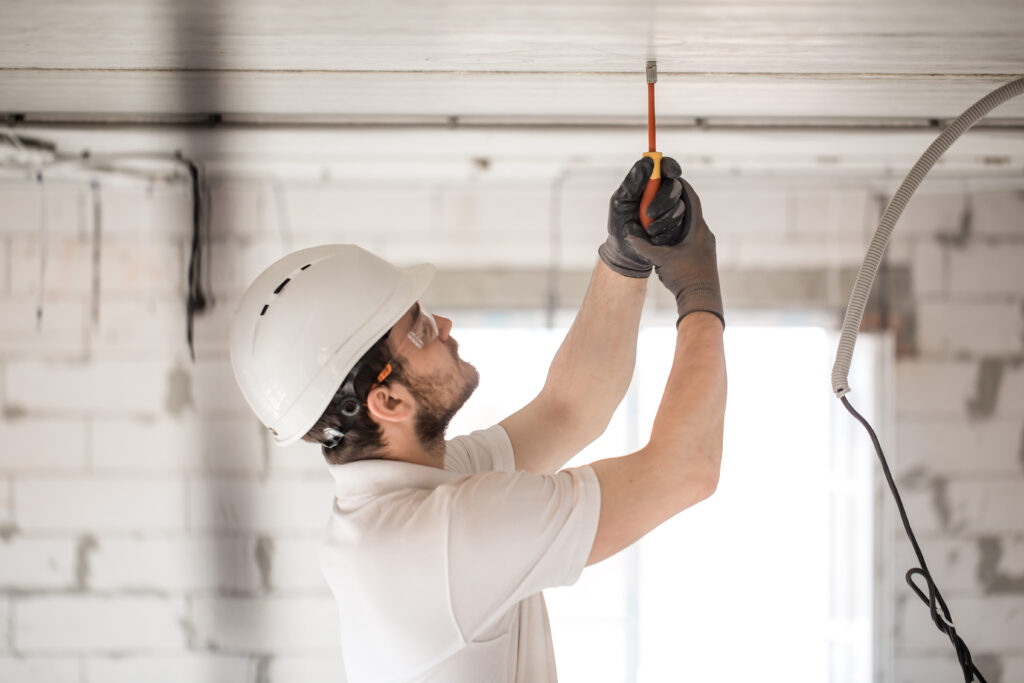
Replacing an outdoor light fixture is one of the easiest ways to refresh your home’s exterior—and it’s a project most homeowners can complete in under an hour. Whether your existing fixture is broken, outdated, or simply inefficient, this guide will walk you through everything you need to know to safely and successfully install a new outdoor light.
You don’t need to be an electrician—just follow a few safety rules, have the right tools on hand, and take your time.
Signs It’s Time to Replace Your Outdoor Light Fixture
Outdoor fixtures go through a lot—sun, rain, wind, and wear. Here are signs it’s time for a replacement:
Flickering, Dimming, or Non-Functional Lights
If your fixture:
- Flickers despite new bulbs
- Fails to turn on at all
- Has intermittent power issues
…it’s likely a wiring issue or internal fault.
Loose wire connections are responsible for ~12% of outdoor lighting failures (ESFI.org).
Rust, Corrosion, or Broken Covers
Cracked glass, rusted frames, or corroded screws expose your fixture to water damage—and increase the risk of electrical shorts.
Outdated Design or Poor Efficiency
Old halogen or incandescent fixtures cost more to run and don’t match modern aesthetics. Upgrading to LED or smart lighting can improve curb appeal and save on energy.
Choosing the Right Replacement Fixture
Wall-Mounted, Ceiling, Flood, or Landscape Options
- Wall-Mounted: Ideal for porches, garage sides, and back doors
- Ceiling-Mounted: Great for covered patios or entry overhangs
- Floodlights: Best for security lighting
- Landscape Fixtures: Installed separately—learn more about fixture types
LED vs Halogen vs Smart Fixtures
| Type | Pros | Cons |
|---|---|---|
| LED | Energy-efficient, long-lasting | Higher initial cost |
| Halogen | Bright and affordable | Uses more energy |
| Smart | App/timer control, automation | Requires Wi-Fi or hub |
LED bulbs use up to 80% less energy than incandescent bulbs (Energy.gov).
Size, Style, and Weather Rating (UL Wet/Damp)
- UL Wet Rated: Safe for exposed areas (e.g., open walls, fences)
- UL Damp Rated: Only use in covered areas (e.g., porches)
Check the mounting base size and wattage limits of your electrical box before buying.
Tools & Materials Needed
Here’s what you’ll need:
Essential Tools & Materials
- Replacement fixture (with mounting plate and instructions)
- Screwdriver (Phillips and flat-head)
- Voltage tester
- Wire strippers
- Electrical tape
- Wire nuts
Optional (Recommended for Longevity)
- Silicone caulk or foam sealant
- Weatherproof gasket
- Drill and screws (if replacing hardware)
Pro Tip: Keep a small flashlight handy—especially if working in the evening.
Safety First – Turn Off Power and Test
Before touching anything:
How to Shut Off Power at the Breaker Box
- Locate your home’s main breaker panel.
- Turn off the breaker labeled for the outdoor fixture—or test breakers until power is off.
- Leave a sticky note to prevent someone from turning it back on accidentally.
Using a Voltage Tester Before Touching Wires
Once the breaker is off:
- Remove the fixture’s cover
- Touch the voltage tester to each wire—no beeping or light = safe to proceed
Don’t Work in Wet Conditions or Rain
Water and electricity don’t mix. Wait for dry weather and wear rubber-soled shoes when working outside.
Step-by-Step Guide to Replacing an Outdoor Light
Step 1: Remove the Old Fixture
- Unscrew the mounting screws
- Carefully pull the fixture away from the wall
- Let it hang while you examine the wires
Support the fixture while removing it to avoid pulling on the wires.
Step 2: Disconnect Wires (Remember the Wire Colors)
- Black = Hot
- White = Neutral
- Bare or Green = Ground
Use your phone to take a picture of the wiring before disconnecting.
Step 3: Inspect and Clean the Electrical Box
- Remove any rust or debris
- Tighten any loose screws
- Replace the box if it’s cracked or corroded (optional)
Need to upgrade your wiring? Read our outdoor wiring guide.
Step 4: Connect the New Fixture Wires
- Match black to black, white to white, ground to ground
- Twist wires together using wire nuts
- Wrap connections in electrical tape for added protection
Step 5: Mount the New Fixture and Seal Edges
- Use the included mounting plate
- Tighten screws evenly for a snug fit
- Apply silicone caulk around the edges to block moisture
Step 6: Turn Power Back On and Test the Fixture
- Flip the breaker back on
- Test with the wall switch
- If the light doesn’t turn on:
- Check connections
- Ensure bulb is working
- Test GFCI if it’s on a protected circuit
Outdoor Fixture Maintenance Tips
Cleaning Lenses and Frames Regularly
Use a soft cloth and mild soap—avoid abrasives that can scratch plastic or glass.
Replacing Burnt-Out Bulbs with LEDs
LEDs last longer and require fewer replacements. Choose outdoor-rated bulbs for safety.
Checking for Moisture Inside the Fixture
Condensation or water droplets inside the cover? Reseal the edges with silicone or replace gaskets.
FAQs About Replacing Outdoor Light Fixtures
Do I need an electrician to replace an outdoor light?
Not usually—if it’s a simple swap and wiring is already in place, it’s a safe DIY project.
Can I use indoor fixtures outside?
No. Indoor lights aren’t weather-sealed and may fail or cause fire hazards outdoors.
Should I replace the junction box too?
Only if it’s damaged, rusted, or incompatible with your new fixture’s mount or wiring requirements.
Wrapping Up
With the right tools and a bit of caution, you can replace an outdoor light fixture safely and confidently. It’s one of the easiest home upgrades to improve curb appeal, energy efficiency, and security.
Looking to upgrade your outdoor lighting? Consider replacing multiple fixtures at once or adjusting locations using our lighting placement guide.
And if you need power nearby, learn how to install an outdoor outlet to support your lighting setup.


